
This is another piece on a part of the Chia and cryptocurrency landscapes. See previous posts at https://rsts11.com/crypto
Need to set up a lightweight VPN to get into your low profile node remotely? Check out Stephen Foskett’s writeup on Zerotier. I’m using it on my Pi nodes to reduce NAT layers.
Many if not most Chia farmers run a full node on their farming / plotting machine. Some larger farms will use the remote harvester model, with a single full node and several machines farming plots on local storage.
If you’re using Flexfarmer from Flexpool, or just want a supplemental node (maybe to speed up your own resyncing, or to supplement decentralization on the Chia network), you might want a dedicated node that doesn’t farm or plot. And for that use case, you don’t really need dual EPYC or AMD Threadripper machines.
In fact, a well-planned Raspberry Pi 4B 4GB or 8GB system, with an external USB drive, will do quite well for this use. If you want to do a few forks as well, or another blockchain full node, a moderately-recent Intel NUC would do quite well for not much more.
So here we’ll look at three builds to get you going. Note that any of these can run a full node plus Flexfarmer if you want, or just a full node.
If you don’t already have Chia software and a full node installed, go ahead and install and sync the node on a full scale PC. it may save you five days of waiting. My original build for this use case was to test the blockchain syncing time from scratch.
Syncing from a semi-optimal Pi 4B from scratch took about 8 days, for what it’s worth. One member of the Chia public Keybase forum reported about 28 hours to sync on an Intel Core i5 12600k.
Caveat: Raspberry Pi boards are a bit more challenging to find and even harder to find anywhere near the frequently-touted $35 price point, or even under $150. And for Chia nodes, you want a minimum of the 4GB Pi 4B (8GB wouldn’t hurt). So while it’s possible to run on older hardware, it’s not recommended.
You might also be able to run on a Pi400 (the Raspberry Pi 4B in a keyboard case, which is much easier to find for $100 or so, complete). I plan to test this soon.
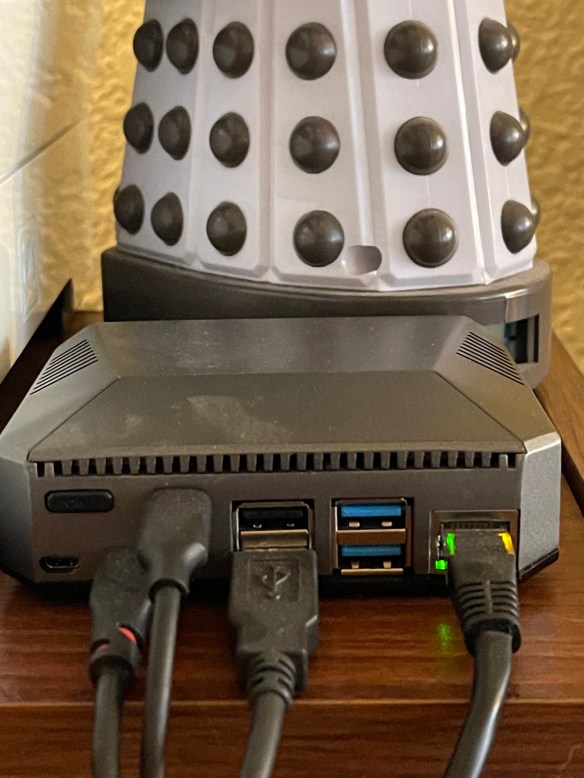
Raspberry Pi with external USB SSD.

This was my initial build, and today it’s running at the Andromedary Instinct providing an accessible full node for about 10-15 watts maximum.
The parts I needed:
Raspberry Pi 4B 4GB board ($60 when I bought it a year or two ago, much more now- check eBay or local marketplaces)
32GB Sandisk MicroSDXC (optional/temporary, performance isn’t as important as reliability here), 2 pack for $15
Samsung T5 500GB USB 3 SSD, $84
Silverstone PI02 aluminum case with heatsinks, $22
Quality 5V 3A USB-C power supply like the Argon ONE power supply for $13, or the Official Raspberry Pi power supply for $12.
Raspberry Pi with internal SSD
You read that right. There are ways to install a SSD inside a Pi case, using USB to connect it. Again, Jeff Geerling has good content around Pi SSDs, more than you’ll need for this project, but see if you can get a solution that supports UASP for optimal I/O performance.
The parts I needed:
Raspberry Pi 4B 4GB board ($60 when I bought it a year or two ago, much more now- check eBay or local marketplaces)
32GB Sandisk MicroSDXC (optional/temporary, performance isn’t as important as reliability here), 2 pack for $15.
128GB or larger m.2 SATA SSD like Kingston A400 240GB, $37.
Argon Forty “Argon One” case with m.2 expansion base, $45
Quality 5V 3A USB-C power supply like the Argon ONE power supply for $13, or the Official Raspberry Pi power supply for $12.
For both, the dedicated storage is important, and you don’t want to use MicroSD for this because of performance. As of this writing, you need no less than 64GB (with the blockchain and wallet database being about 40GB alone), and you’d be better off going bigger if you can.
The process:
Assemble the case WITHOUT the SD card installed. I learned this one the hard way.
Download the official Raspberry Pi Imager. Write Ubuntu or Raspberry Pi OS onto the MicroSDXC card to boot and update the board firmware (I used Ubuntu 21.04 server).
Boot the system, do a full upgrade of the OS, and make sure the system has the latest firmware (Jeff Geerling has videos about this process, but in short, sudo apt-get dist-upgrade -y).
Now write Ubuntu or Raspberry Pi OS onto the USB SSD. This will improve performance and reduce the parts to deal with. I built my node running on MicroSDXC because I’d missed the update on mainstream USB boot for Pi 4B.
Remove the microSDXC card and power up the Pi with the USB SSD installed. Run updates on it, and then reboot again.
Why not start with the USB SSD? We may not know if the Pi has the latest firmware to support USB boot. If you’re re-using a Pi you’ve already updated firmware on, go directly to USB SSD.
Making it a Chia node:
For each option, you’ll be happiest if you have a backup of a fairly recent Chia blockchain database. See Spacefarmers post about how to back up the database from a running node, or just stop your synced full node and copy the database to removable media. This is why I told you earlier to start syncing a node on a “real” PC if you haven’t already.
Also for each option, you’ll need to install the Chia software and start it up once so all directories are created. Then shut it down with chia stop -d all, copy your database backup into place, and start it up again. Or if you want to sync from scratch, just let the Pi node run uninterrupted for about 7-10 days.
You said there were three builds, Robert
That’s correct. The two Pi builds above will give you a 10-15 watt full Chia node in an hour or so, great for setting up in various places if you don’t want to tie your desktop down as a full node.
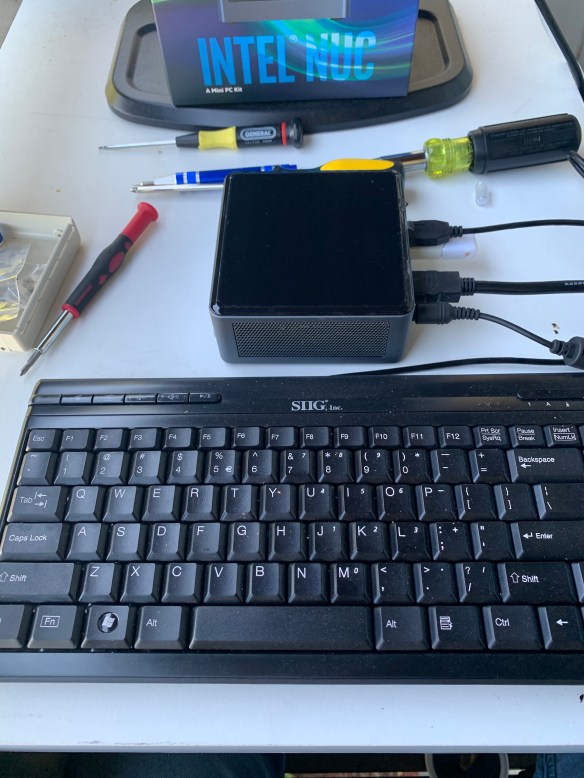 If you’re looking to do a bit more work with your node, whether heavy farming, plotting, or running additional Chia forks like Flax or Chives, I’d suggest looking into an Intel NUC to handle the load. I wrote about a NUC Chia Plotter in May 2021, and that design is still viable, but you might want something a bit less expensive, especially if you’re not plotting or not in a hurry to complete plots.
I found a NUC8i3BEH 8th gen i3 with 8GB RAM and 512GB SSD for $450. The NUC10i7FNH that I used in the plotter build is $779 with 16GB and 512GB, but I’d lean toward a barebones and adding a good 1TB or 2GB NVMe drive if you plan to do moderate plotting.
An HP EliteDesk 800 G2 Mini would be a good choice as well, as you can get a refurbished i3 model complete with 16GB RAM and a 256GB SSD for about $250. There’s an i5 with 240GB SSD for the same price range, and an Look at core count and speed, and consider whether you care about the tall models.
Where do we go from here?
I now have the two Pi builds running as standalone nodes. They each farm a few plots with Flexfarmer from Flexpool.io, and may get expanded by an external drive or two at some point.
I’m planning to put the NUC10 on a shelf near my standing desk and migrate most of the 200TB external storage on the property to it, using a couple of USB 3.0 hubs and a power breakout cable. More on that when it happens though.

Pingback: Revisiting Flexfarmer five months later – efficient Chia farming on Raspberry Pi and more | rsts11 – Robert Novak on system administration